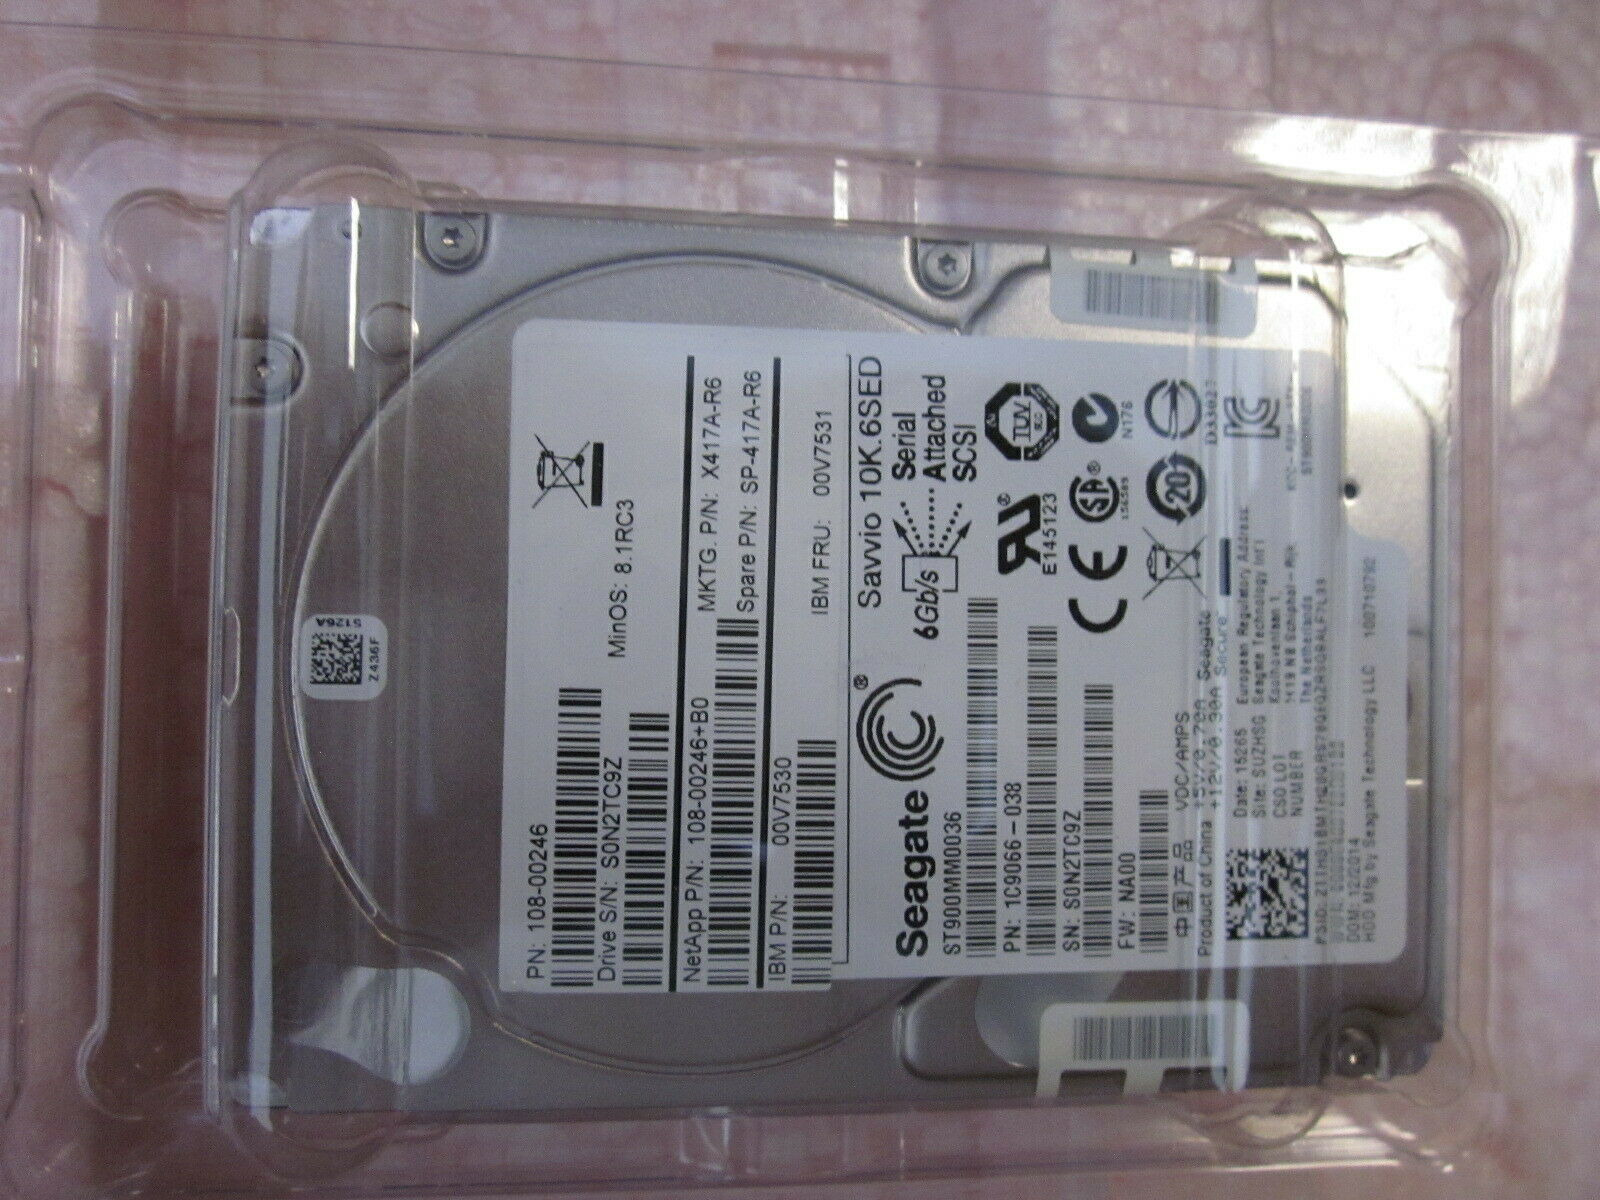
I recently bought some cheap “NetApp X417A-R6” SAS drives on Ebay - NetApp X417A-R6 900GB 2.5" SAS ST900MM0036, specifically. Come on, a 900GB 10k RPM SAS drive for $12.50 seemed like a good deal to me.
Intro
The problem, it turns out, is that these NetApp drives have 520-byte sectors, while my R610’s PERC 6/i RAID controller apparently only takes “standard” sector sizes such as the more common 512-byte. One needs to low-level reformat the drives to 512-byte sectors using a tool such as sg_format, provided by sg3_utils. This is a pretty well-documented issue if you Google “520 to 512 bytes”, “Poweredge NetApp”, or similar, but here are some links I found useful. This one in particular was very relevant, though I ended up taking a different approach.
However, performing this sort of low-level format requires the OS to have a direct/passthrough view of the SCSI drives, instead of seeing a virtual drive provided by a RAID controller. This means you need a SAS controller that supports HBA mode, IT mode, JBOD mode (after a few days I’m inclined to believe that these all refer to roughly the same thing, but I might be wrong on that). The PERC 6/i card doesn’t support any of these, and it doesn’t look like there’s any use trying to force it to do so. So we have to switch to a different SAS card. The typical approach is to buy an H310 which has been flashed to IT-mode firmware, but I wanted to see if I could avoid that…
A friend of mine recently got some HP Proliant servers, and (thank you Matt!) they were willing to let me borrow a G7 for a few days. It had a HP Smart Array P410i card, and was empty, with no disks or existing RAID setup.
⚠ WARNING: Before starting, remove all existing disks from the P410i. I do not recommend doing any of this stuff if you have an existing RAID setup on the P410i, the RAID setup will almost certainly be destroyed and you’ll have to re-create it somehow.
Google implies that the P410i does not support HBA mode, but it turns out that’s not exactly true! I’ll explain how the P410i, at least in this case, can be temporarily switched over to HBA mode and put to use to reformat these nasty drives to 512-byte mode.
The Problem
Stepping back for a second - the issue with the NetApp drives was pretty apparent. When I put one in the R610 and booted into the PERC controller, it showed up in the Physical Disks list and looked fine. But when I made a single-disk RAID-0 Virtual Disk (for testing) and hit OK, the disk made some awfully scary whirring noises (still no idea where these come from), showed up as “Failed”, the LCD and LEDs went amber, and a Storage Drive 0: Drive Slot sensor for Storage, drive fault was asserted error came from the iDRAC.
In my case, this was due to the 520-byte sector size issue - keep in mind, I think others have reported similar issues, but due to weird/incompatible drive firmware.
Putting the HP Smart Array P410i into HBA mode
HBA mode, IT mode, JBOD mode - again, I’ve yet to figure out the difference, but I think they all refer to the OS having direct SCSI access to the plugged-in drives. I’ll just say HBA mode.
Note: All instructions here will be specific to a P410i on a HP Proliant G7 machine. It might be much simpler to pull this off on other setups, I haven’t tried those.
The HBA Situation
Anyways, the P410i card on a Proliant server isn’t “supposed” to support HBA mode. However, on HP Integrity servers, it apparently does, and there, it’s not that hard to switch it between HBA and RAID mode.
Luckily, Ivan Mironov has managed to reverse-engineer the NVRAM flag which actually flips the controller into HBA mode, and has made it into a convenient tool: https://github.com/im-0/hpsahba. Thanks, Ivan! (And also thanks Arti Zirk, who provides a necessary kernel module.) I’ll show how to use this in a minute.
Applying Firmware Update
The first step to “hacking” the P410i is to update its firmware. 6.64 is the version that Ivan has tested, and I believe that’s the most recent version anyways. To do the update, I grabbed a copy of the “SPP” HPE Service Pack for ProLiant G7 servers, AKA SPPG71.3.iso, from this unofficial link. (Verify its legitimacy by going to the support.hpe.com link next to “Additional Information” and checking the SHA-256 sum.) Then use the USB Key Utility to write the ISO to a flash drive (Rufus wouldn’t work, I had to use the Utility, not sure why) and simply boot the Proliant into it. Follow the on-screen instructions to update the firmware - it’s a very user-friendly tool! I did something similar to this video, but I’m sure selecting Automatic Update would work too. (Note: The instructions in this video for enabling HBA mode did not work for me, it simply showed the “Not Supported” message.)
Switching to HBA Mode
I worked roughly off of this tutorial, with some changes: https://medium.com/@terryjx/enable-it-mode-on-hp-smart-array-p410i-raid-card-on-hp-dl380-gen7-servers-4e827eeb78ca You may find it helpful as well.
At this point, you need to boot an OS. I chose Ubuntu 20.04, Linux 5.4 kernel. I just used a USB stick imaged with the wonderfully convenient https://netboot.xyz/ image. (Note: For netboot.xyz to work on the Proliant, I did need to use the net0 ethernet port.)
⚠ NOTE: Again, executing this switch will cause all your RAID configurations to disappear, and will prevent you from booting off of disks - you will only be able to boot off of flash drives and SD cards until you put the P410i back in RAID mode.
I will assume the P410i is on /dev/sg1. You should verify this with a tool like sudo sg_scan -i (install sg3_utils first).
Anyways, pop open a terminal, and:
$ git clone https://github.com/im-0/hpsahba.git
$ cd hpsahba
$ sudo apt update
$ sudo apt install make gcc pandoc
$ make
$ ./hpsahba -h    # show help
(output should look something like this)
$ sudo ./hpsahba -i /dev/sg1
VENDOR_ID='HP'
PRODUCT_ID='P410i'
BOARD_ID='0x3245103c'
SOFTWARE_NAME=''
HARDWARE_NAME=''
RUNNING_FIRM_REV='6.64'
ROM_FIRM_REV='6.63'
REC_ROM_INACTIVE_REV='6.63'
YET_MORE_CONTROLLER_FLAGS='0xfa71a216'
NVRAM_FLAGS='0x08'
HBA_MODE_SUPPORTED=1
HBA_MODE_ENABLED=0
$ sudo ./hpsahba -E /dev/sg1
 //  CAUTION  //  // CAUTION //  //  CAUTION  //  // CAUTION //
        HBA MODE CHANGE WILL DESTROY YOU DATA!
        HBA MODE CHANGE MAY DAMAGE YOUR HARDWARE!
Type uppercase "yes" to accept the risks and continue: YES
Side note: This is the most intimidating caution message I’ve ever seen in a command line program. I mean, it blinks and everything.
At this point, the P410i should now be in HBA mode. If you were to reboot the server, during the boot you should see a message like “Hardware RAID support is disabled via controller NVRAM configuration settings”. You can also immediately re-run the sudo ./hpsahba -i /dev/sg1 command, and now it should end with HBA_MODE_ENABLED=1.
⚠ NOTE: When you are completely finished, you should run
sudo ./hpsahba -d /dev/sg1to disable HBA mode and return to RAID mode.
Kernel Patches: Making The OS See The Drives
As Ivan explains in the hpsahba README, some kernel patches are required in order to have the OS actually see the HBA-mode drives. You can insert the drives into the server now or later, it should work either way.
If you’ve lost it (say, by rebooting), clone the hpsahba repo again and cd into it. Then:
$ cd contrib/dkms/
$ ./patch.sh 5.4    # <- put kernel version here
Now follow the instructions inside the README.md in the dkms folder. In my case (as of December 2020), this was:
$ sudo apt install dkms linux-headers-$(uname -r)
$ sudo dkms add ./
$ sudo dkms install --force hpsa-dkms/1.0
$ sudo modprobe -r hpsa
$ sudo modprobe hpsa hpsa_use_nvram_hba_flag=1
The last line in there will actually reload the driver and re-scan for new drives. So if you remove and re-insert the drives, run sudo modprobe -r hpsa; sudo modprobe hpsa hpsa_use_nvram_hba_flag=1 to get the OS to realize the changes. What I had to do was insert the drives, wait roughly 20 seconds for them to stop making noises, then run that command.
If you run dmesg, you should see something like
[ +0.041105] scsi host2: hpsa
[ +0.000324] hpsa can't handle SMP requests
[ +0.002648] hpsa 0000:05:00.0: NVRAM HBA flag: enabled
[ +0.011236] hpsa 0000:05:00.0: scsi 2:0:0:0: added RAID HP P410i controller SSDSmartPathCap- En- Exp=1
[ +0.000004] hpsa 0000:05:00.0: scsi 2:0:1:0: added Direct-Access NETAPP X417_SLTNG900A10 PHYS DRV SSDSmartPathCap- En- Exp=1
[ +0.000002] hpsa 0000:05:00.0: scsi 2:0:2:0: added Direct-Access NETAPP X417_SLTNG900A10 PHYS DRV SSDSmartPathCap- En- Exp=1
...
[ +0.001149] scsi 2:0:0:0: Attached scsi generic sg1 type 12
[ +0.000384] sd 2:0:1:0: Attached scsi generic sg3 type 0
[ +0.000189] sd 2:0:2:0: Attached scsi generic sg4 type 0
[ +0.000364] sd 2:0:2:0: [sdc] Unsupported sector size 520.
[ +0.001075] sd 2:0:2:0: [sdc] 0 512-byte logical blocks: (0 B/0 B)
[ +0.000002] sd 2:0:2:0: [sdc] 520-byte physical blocks
[ +0.000419] sd 2:0:2:0: [sdc] Write Protect is off
[ +0.000002] sd 2:0:2:0: [sdc] Mode Sense: d7 00 10 08
Run sudo apt install sg3-utils and then sudo sg_scan -i. The NETAPP drives should show up. Take note of the path.
At this point, the OS has direct passthrough access to the SAS drives, and so we are ready to begin the reformat.
Reformatting the Drives
Again, run sudo sg_scan -i and take note of the /dev/sgX path(s) of the drive(s) you have attached.
$ sudo sg_scan -i
/dev/sg0: scsi0 channel=0 id=0 lun=0 [em]
    TEAC      DV-28S-W          C.2D [rmb=1 cmdq=0 pqual=0 pdev=0x5]
/dev/sg1: scsi2 channel=0 id=0 lun=0
    HP        P410i             6.64 [rmb=0 cmdq=1 pqual=0 pdev=0xc]
/dev/sg2: scsi3 channel=0 id=0 lun=0 [em]
    SMI       USB DISK          1100 [rmb=1 cmdq=0 pqual=0 pdev=0x0]
/dev/sg3: scsi2 channel=0 id=1 lun=0
    NETAPP    X417_SLTNG900A10  NA01 [rmb=0 cmdq=1 pqual=0 pdev=0x0]
/dev/sg4: scsi2 channel=0 id=2 lun=0
    NETAPP    X417_SLTNG900A10  NA01 [rmb=0 cmdq=1 pqual=0 pdev=0x0]
Run sudo sg_format -v --format --size=512 /dev/sgX where X is the number of the NETAPP drive. (Note: Some people also need a --six flag; I did not.) This should prompt you with a countdown: A FORMAT UNIT will commence in 15 seconds. Allow it to continue. Once the format begins, it will print out status messages every 1%. On my 900GB drive, the format took roughly 2-4 hours and the drive heated up a bit.
You can run multiple sg_formats in parallel (say, multiple terminal tabs), however, I recommend plugging in all the drives together at the start, then starting the formats at the same time, then waiting until all are done before unplugging any drives - that is, don’t hotplug any drives or do any modprobe commands while any other drives are being formatted - I may just be paranoid, though.
Once the format is complete, the drives should be good to go! To verify, you should be able to run lsscsi or similar and see them. You can also run gparted and see them there.
Returning to RAID Mode
Again, when you are completely finished, you should run sudo ./hpsahba -d /dev/sg1 to disable HBA mode and return to RAID mode. Run with the -i option to verify that HBA is disabled. When you reboot the Proliant G7, the “Hardware RAID support is disabled” message should be gone.
Conclusion
At first I was disappointed that the drives weren’t working, but in the end I’m kind of happy about it. This was a fun weekend project, and may turn out to be a reliable way to get cheap SAS drives in the future :)
(And I hope this article may be helpful to the one-in-a-billion person who happens to also have a NetApp 520-byte drive, a non-HBA RAID controller, and a borrowed Proliant with a P410i controller… whoever you are!)